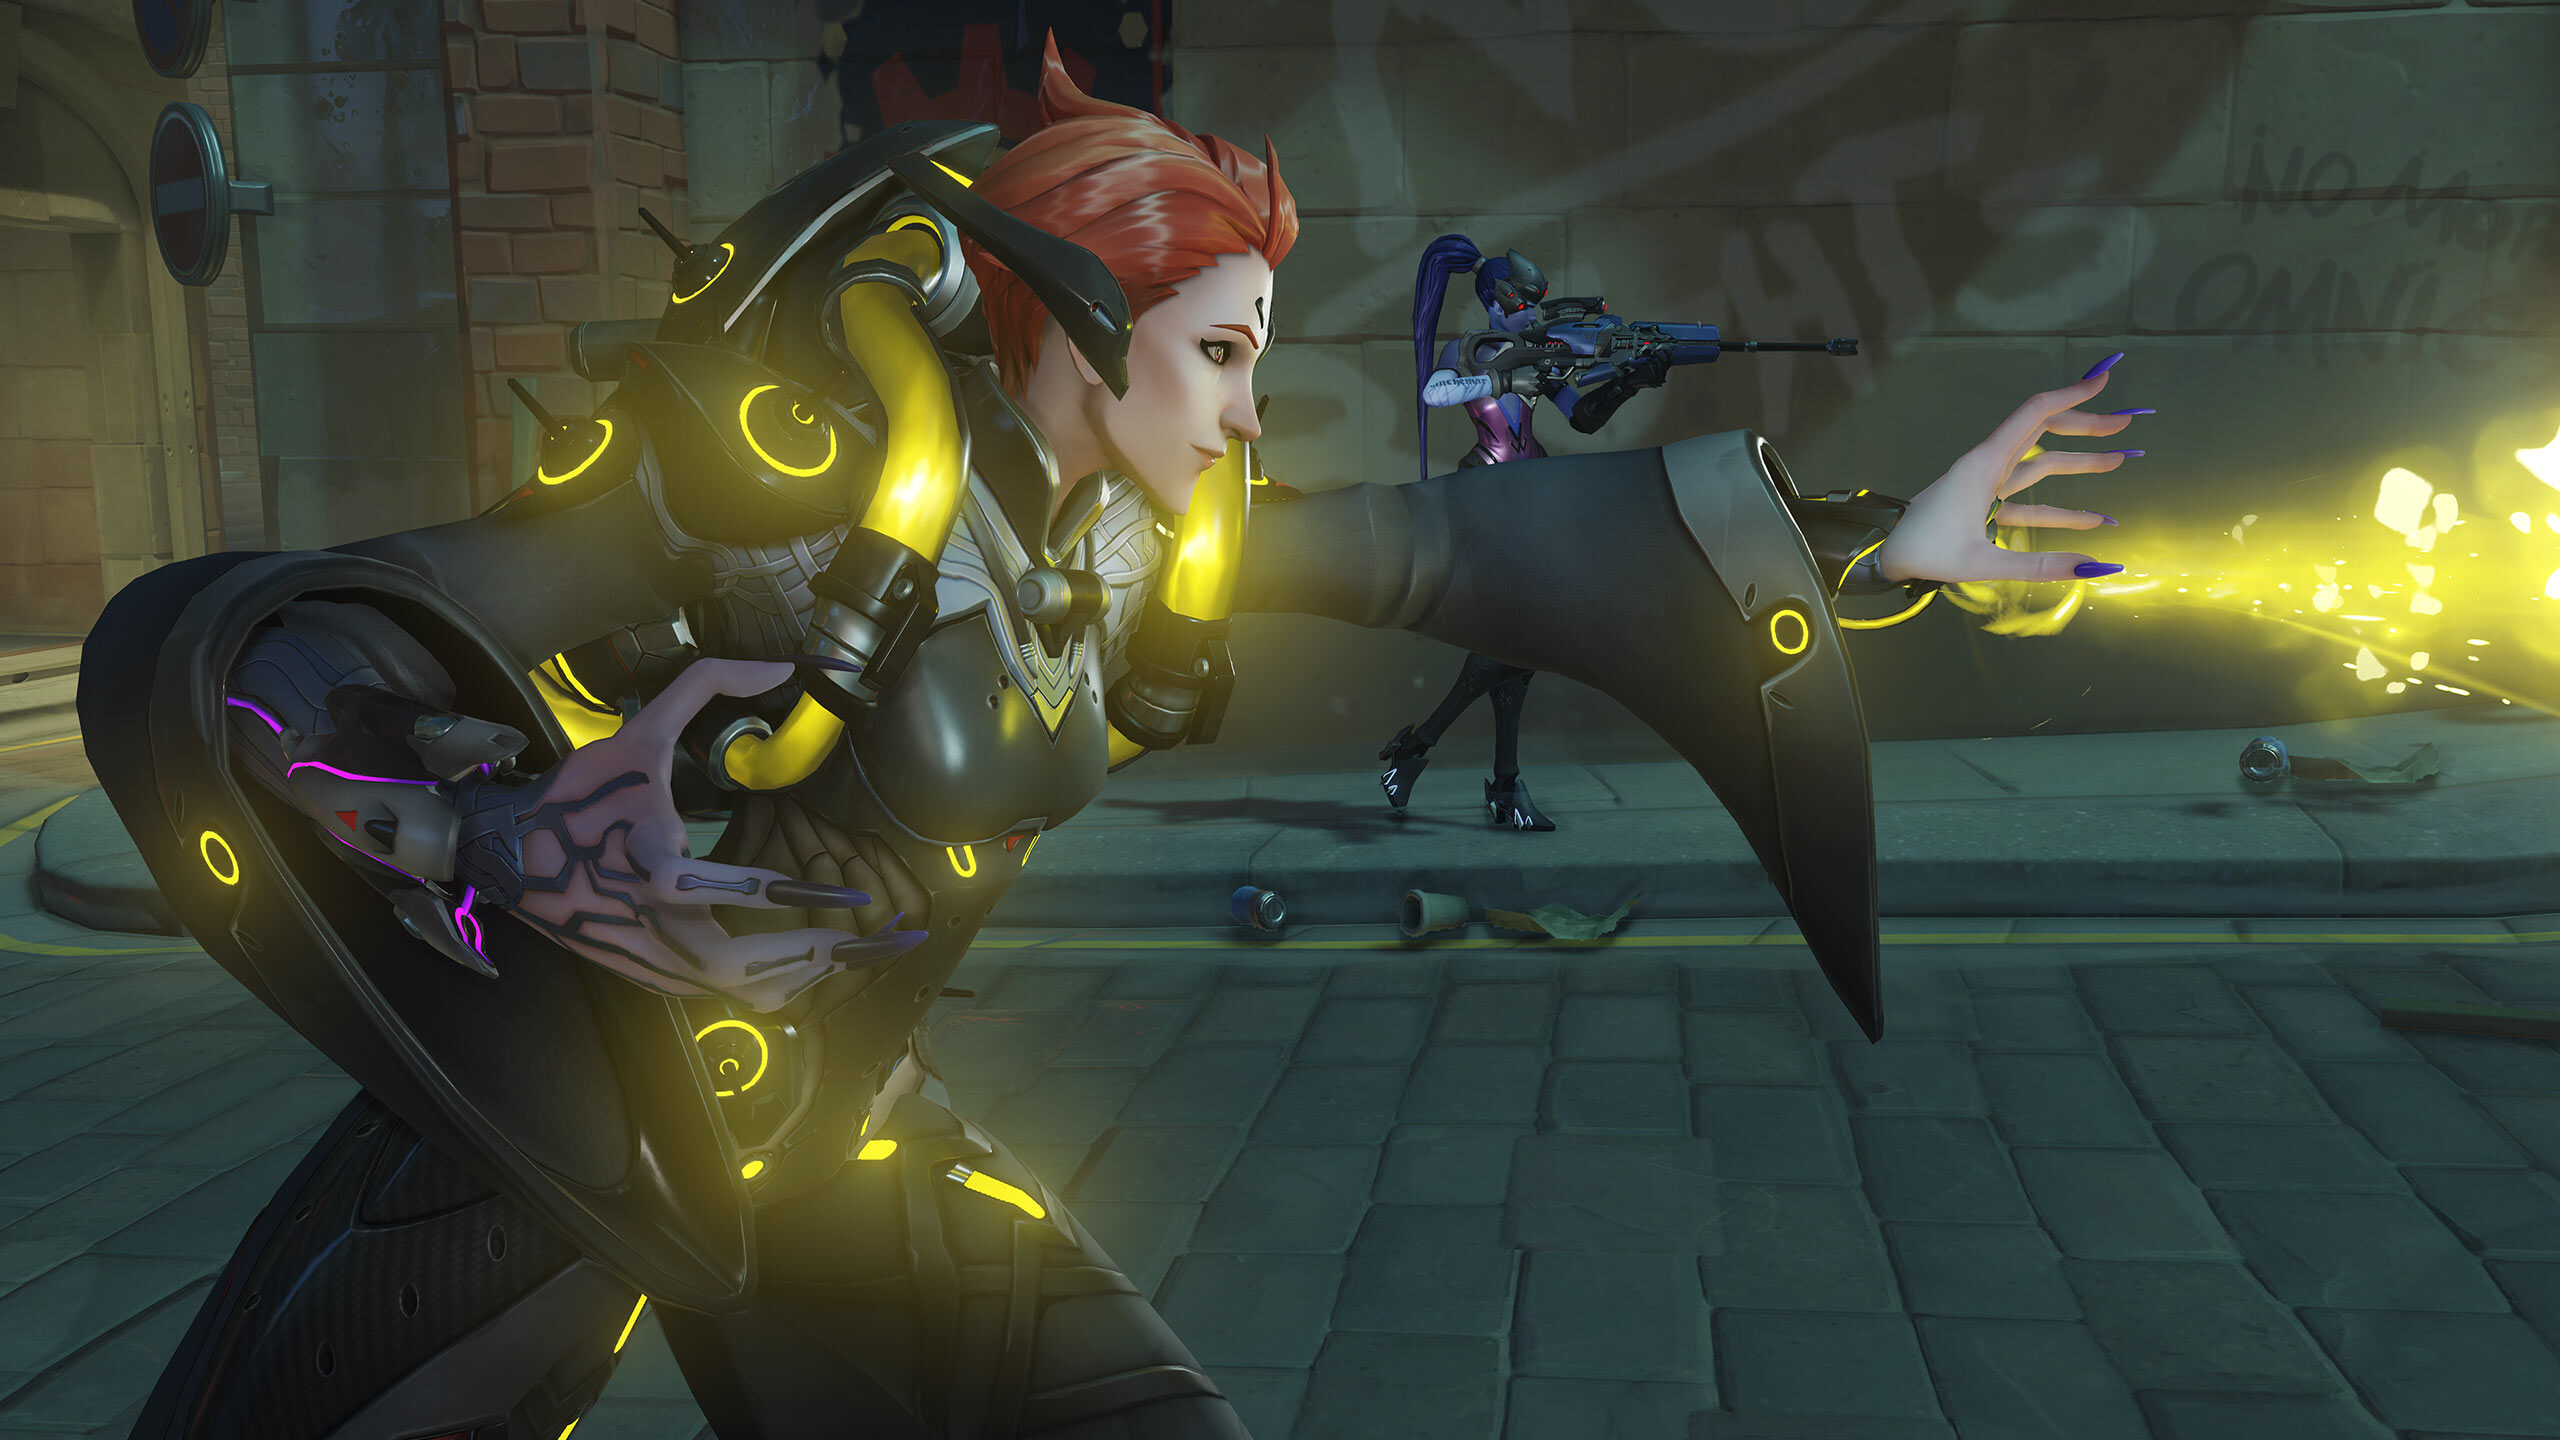
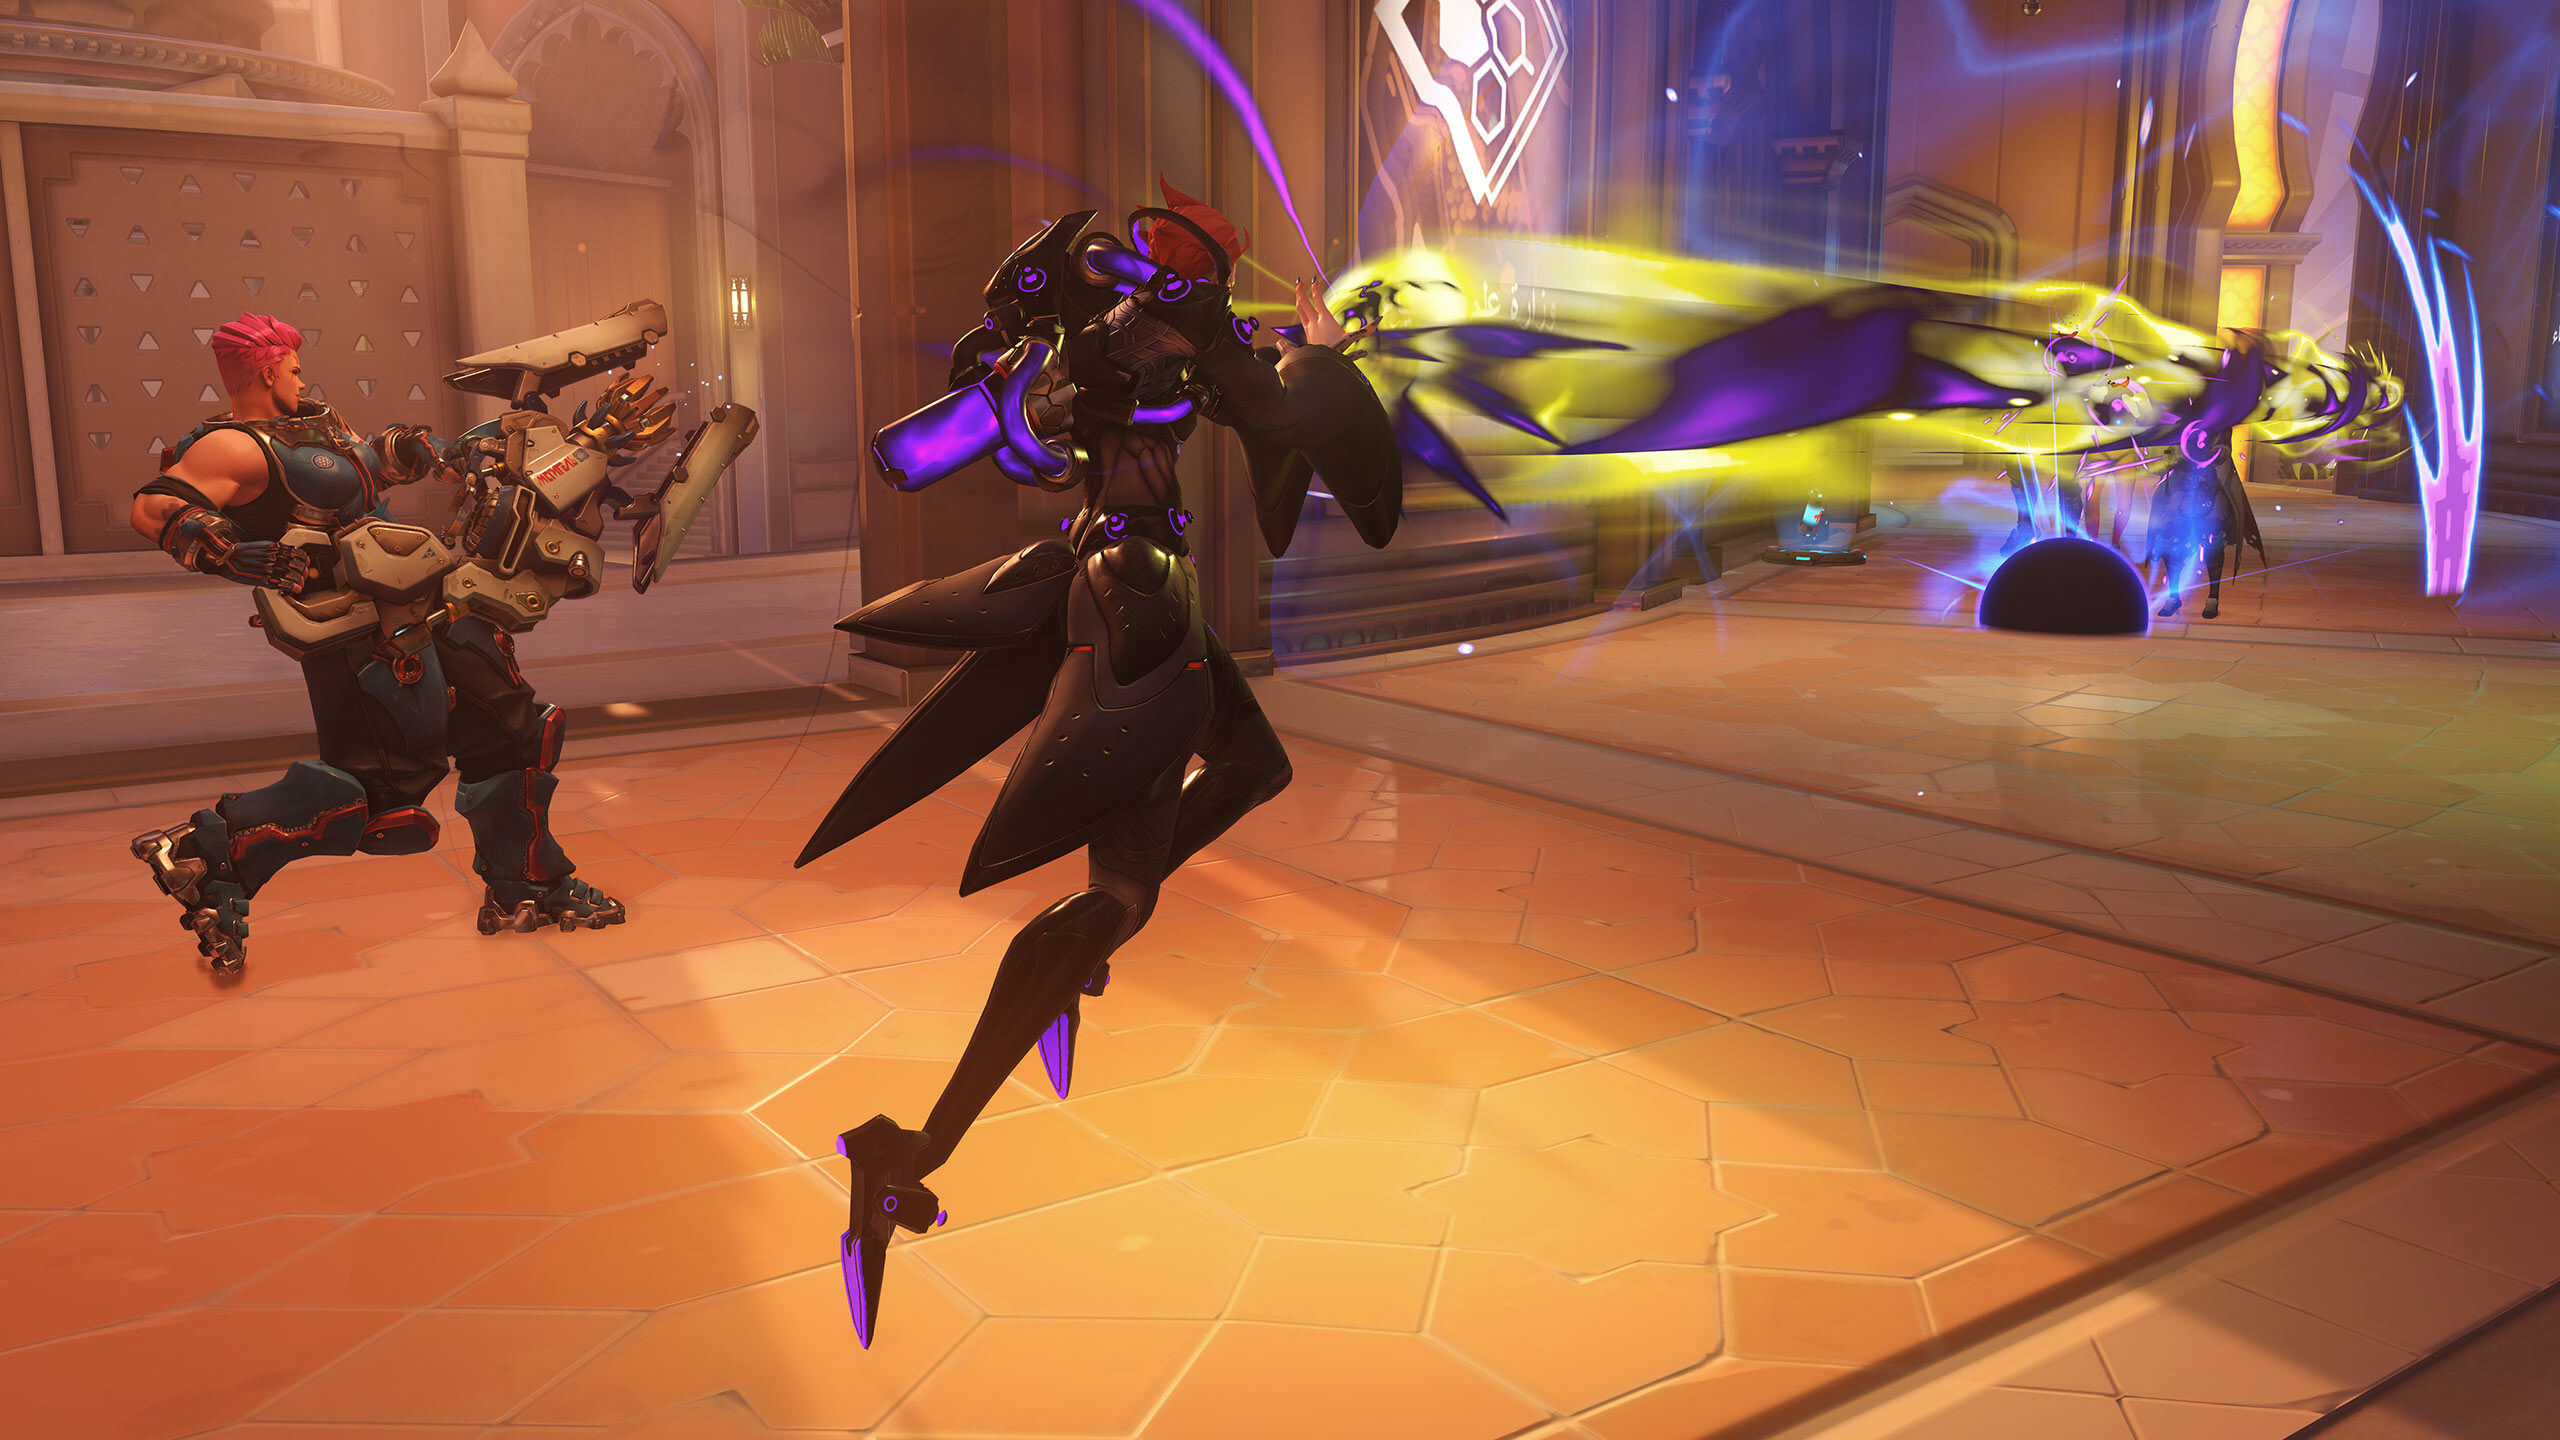
If you do it right, there’s so much you can do as Moira. Not only is she a formidable damage dealer, but she’s also a healer who doesn’t need a lot of careful aiming in order to be successful. What’s more, she’s capable of outputting a significant amount of health points—even more than Mercy and Lucio, who are the more popular healers in the community.
Despite these positive elements, there’s a lot you need to juggle if you main as Moira. For one thing, you need to know when it’s time to heal your team and when it’s time to deal as much damage as possible to enemy players. You could end up losing the match if you’re not healing enough of your teammates, but at the same time, you could also lose if you’re not doing your part in dealing damage.
So, how do you know when to do either one?
Abilities
Before deep diving into Moira’s role in Overwatch, let’s discuss her abilities first to give you a good grasp of what she can and can’t do. This is the first step to becoming an efficient Moira user.

Biotic Grasp
Similar to the hero Ana, Moira’s Biotic Grasp is capable of doing two completely opposite things depending on whether you use her primary or secondary fire. If you choose to heal, which is the primary fire, Moira will be able to heal allies up to a whopping 80 health points per second. In comparison, the popular Mercy can only heal 50 points per second.
In addition, the Biotic Grasp’s healing beam is able to reach up to 15 meters, healing any ally that it passes through. However, the catch is that this ability can only be used as long as Moira has Biotic Energy, which is a meter that can be found near the hero’s crosshair.
In order for you to increase Moira’s Biotic Energy, this is where her secondary fire comes into play. Unlike the primary fire, this secondary one deals damage to enemies. Since it’s a damaging beam, this means that Genji won’t be able to deflect it and that D.Va’s Defense Matrix won’t be able to gobble it up.
The range of this secondary fire is quite long, reaching up to 20 meters. When you’re successfully dealing damage to an enemy player using this ability, the Biotic Energy will refill more or less 10 units per second. As such, always try to make an effort to deal damage in order to refill the meter after healing your allies.
Biotic Orb
The Biotic Orb is a bit similar to the previous ability in that it’s still capable of either damaging or healing players. With Biotic Orb, Moira is able to send out a ball-like projectile that can bounce off walls. Depending on who it can connect to, the orb can either damage enemies or heal team members.
The healing aspect of the Biotic Orb can reach as much as 300 health, while damage dealt can reach up to 200 damage. It can be tricky at first, but with enough practice, you’ll be able to master throwing the projectile in a way that it heads towards enemies or allies (or both). Biotic Orb has a cooldown of 10 seconds, so keep that in mind.

Fade
Fade is perhaps one of the best abilities in terms of movement in Overwatch. With only 6 seconds needed for cooldown, Moira is able to teleport quickly, albeit for only a short distance. Nevertheless, it’s an excellent ability to have if you want to either escape from imminent danger, or swiftly get close to an enemy as possible to deal critical damage.
Coalescence
Moira’s Ultimate ability is a marvel, and can really come in handy during team fights—if you know how to use it, that is. When you activate Coalescence, Moira will send out a massive 30-meter-long beam that can both deal 70 damage per second as well as heal 140 HP per second. In order for you to utilize this Ultimate to the best of its ability, you need to situate yourself in a way where you know you can hit both allies and enemies. Moira’s Ultimate charges quite fast as well, which means you’ll be able to use it often.
Should You Damage or Heal?
When you’re a Moira user, there’s one thing that you’ll keep wondering throughout the match: should you heal or fight? As you’ve surmised by now, these are the two things she’s good for after all. Not only must consistently heal your team to keep them alive, you also ensure that you don’t stop dealing damage as well, especially since this is how you increase your Biotic Energy.
On technique we’d like you to incorporate in your Moira gameplay is this—you should simply tap her healing abilities instead of holding down the button. Then, simply use her secondary fire after every healing done. By doing so, you won’t heal allies with more points than they actually need, and you’ll be absorbing Biotic Energy as well.
That being said, here’s the best way to go about this. You should deal damage to the enemy team only when you know your team overpowers, if not outnumbers, them. Once you’ve already been able to eliminate at least two to three enemies, don’t hesitate to keep fighting back, especially if there are targets who are low on health.

Of course, you need to focus more on healing if or when your team is on the losing end, or if a couple of your teammates have suffered damage. Your goal is to keep your team alive and strong enough to fight back, especially if there’s still a chance for your team to win the match. The same strategy applies to the hero’s Biotic Orbs ability.
Where to Position Moira
You’ll find that Moira is the most efficient when she’s either situated behind her team or generally near them. It’s best to be around team members who have grouped together, especially since Moira’s abilities are able to pass through her allies. Make use of this fact.
At the moment, Moira is perhaps one of the most underrated heroes in Overwatch. It’s quite unfortunate too, especially since she holds so much potential as a damage-dealer and healer. Hopefully, this guide will have given you more information about Moira and what to keep in mind during a team fight.

