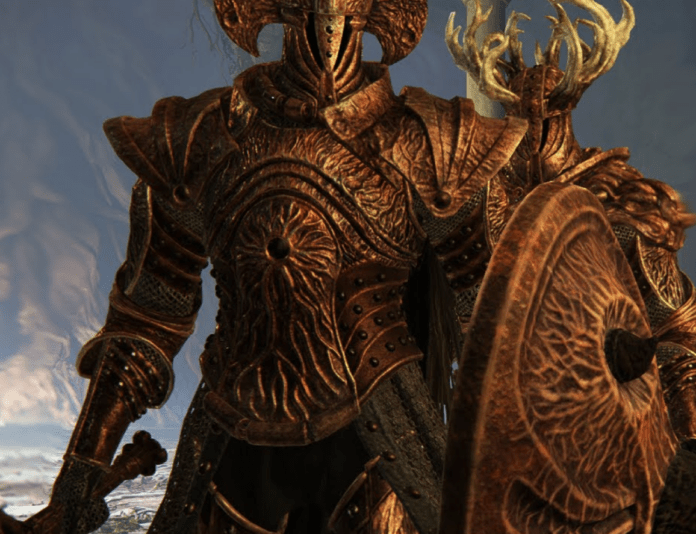
When you wish to unleash your fighting spirit or maybe want to vent your anger, play “Elden Ring.” Several characters in the game may be tough for you to beat, such as the Crucible Knight Duo. But here’s a PVP Live walkthrough on how to defeat these monsters.
Who Are The Crucible Knight Duo?
Fighting with the Crucible Knight Duo is a double-whammy. You won’t just get a single knight, but a duo. They are two Crucible Knights and, mind you, they are different from each other, carrying distinct names.
The first is a regular Crucible Knight wielding a pronged spear, while the other is known as the Ordovis, armed with a Greatsword with a unique special attacking skill.
Your battle with the Crucible Knight Duo will be tough as they are strong contenders that will slim your chances of counterattacking. You can rarely stagger them, you cannot backstab them, and they are challenging to weaken. Here are some tips to stand your ground against them.
Where Can You Find Them?
Sure, you will need to find them first to beat them. But can you just escape from them? Good question. No. If you want to progress through the game, there’s no other way but to beat them.
This duo boss can be found at the end of the Auriza Hero’s Grave on the plateau of the Altus.
How To Beat The Duo
They are a duo, so taking them down alone won’t do you good. Instead, summon another player for help when fighting with these bosses. Believe us, this battle will be easier if you have another person helping you. Furthermore, ensure your preferred tanky summon gets an upgrade before you proceed to the fog wall. Now, let’s get to the strategies.
Strategy
Melee Strategies
Even if the regular Knight sounds easier to beat, the best tip here is to take down the Ordovis knight first. The reason: he’ll be at the frontline more often.
Start by baiting an attack from Ordovis whenever the spear knight is decently far behind him. Stick to just one leaping heavy attack. This should be enough, starting as soon as you see the combo’s end from Ordovis.
After you’ve gotten your attack in, roll backward. Roll backward right away and twice to avoid the attacks it will hurl against you. The requirement here: sufficient stamina.
Now, if the spear knight ends up in front of who you’re facing now, sprint across the arena to reposition. This way, the spear knight is kept further back from Ordovis. It’s a practical move because the spear knight will sometimes cast a ranged attack, giving a chance for the other to get more distant. This way, you can battle Ordovis without the other knight stabbing you.
Secondly, the reason why you are doing this is to punish Ordovis with a leaping heavy even if the other guy is close, and the other guy’s initial attack will go over your head more often than not.
The prerequisites: plenty of HP and flask. You’re taking risks, so you better be prepared.
Ranged Strategies
Now, for the strategies on ranged attacks. It gets more manageable for a moment until you receive lunging attacks from both knights that can catch you from a distance. To address this, target the spear knight first, then sprint around the battlefield, generally like what you did earlier. Just be patient and only attack when they are distant enough to launch a counterattack. Do those make sense?
Once you’ve taken down the spear knight, it’s time to proceed to Ordovis. Don’t waste casting spells, especially when he’s in defense mode. Instead, wait until he gets close enough to attack, then roll away a few times. At the end of the day, you can launch an attack while he completes his combo.
The Second Phase + Healing Notes
Yes, there is a second phase, but this should be easier than the stages above. In this second phase, your opponents are better. Some moves from the first phase should be used here, but in this second phase, Ordovis will use his Tail Whip after his combos and especially after landing from his Flying Plunge.
Meanwhile, the spear knight should be punished when it misses its Flying Plunge attack. Additionally, the Ordovis knight will begin chaining his Tail Whip. Yes, his Tail Whip, but as a chain, following his thrusting attacks, so you must watch for these, too.
Healing
If you’re hurt, healing can be tricky. For instance, you must wait until Ordovis’ Stomping Combo ends before healing. Otherwise, try to sprint away and heal. Once you’re far away, most of their attacks won’t affect you.
The Proper Moveset
Mastering the proper moveset is essential to finish this battle once and for all. You must attack when they launch theirs, or you’ll get defeated, and it’s game over.
For Ordovis, here’s what to keep in mind:
- Stomp
- Stomping Combo
- Diagonal Slash
- Double Diagonal Slash
- Dragging Slash
- Slash Slash Stab
- Triple Slash
- Lunging Stab
- Whirlwind Slam
- Shield Bash
That’s for the first phase. For the second phase for Ordovis, take note of the Flying Plunge and Tail Sweep.
For the other guy, remember the following:
- Stomp
- Horizontal Slash
- Double Slash
- Triple Slash Combo
- Stab and Slash
- Spear Drill
- Stab
- Running Stab
- Stab + Spin
- Slam + Sweep
- Dagger Grab
For his second phase, remember the Flying Plunge and Dagger Grab.
Basically, those are what you need to know when defeating the Crucible Knight Duo. They’ll tell you, “Two heads are better than one.” So, you know what you should do? Think ahead.


